Rears now done!
Much simpler than the front.
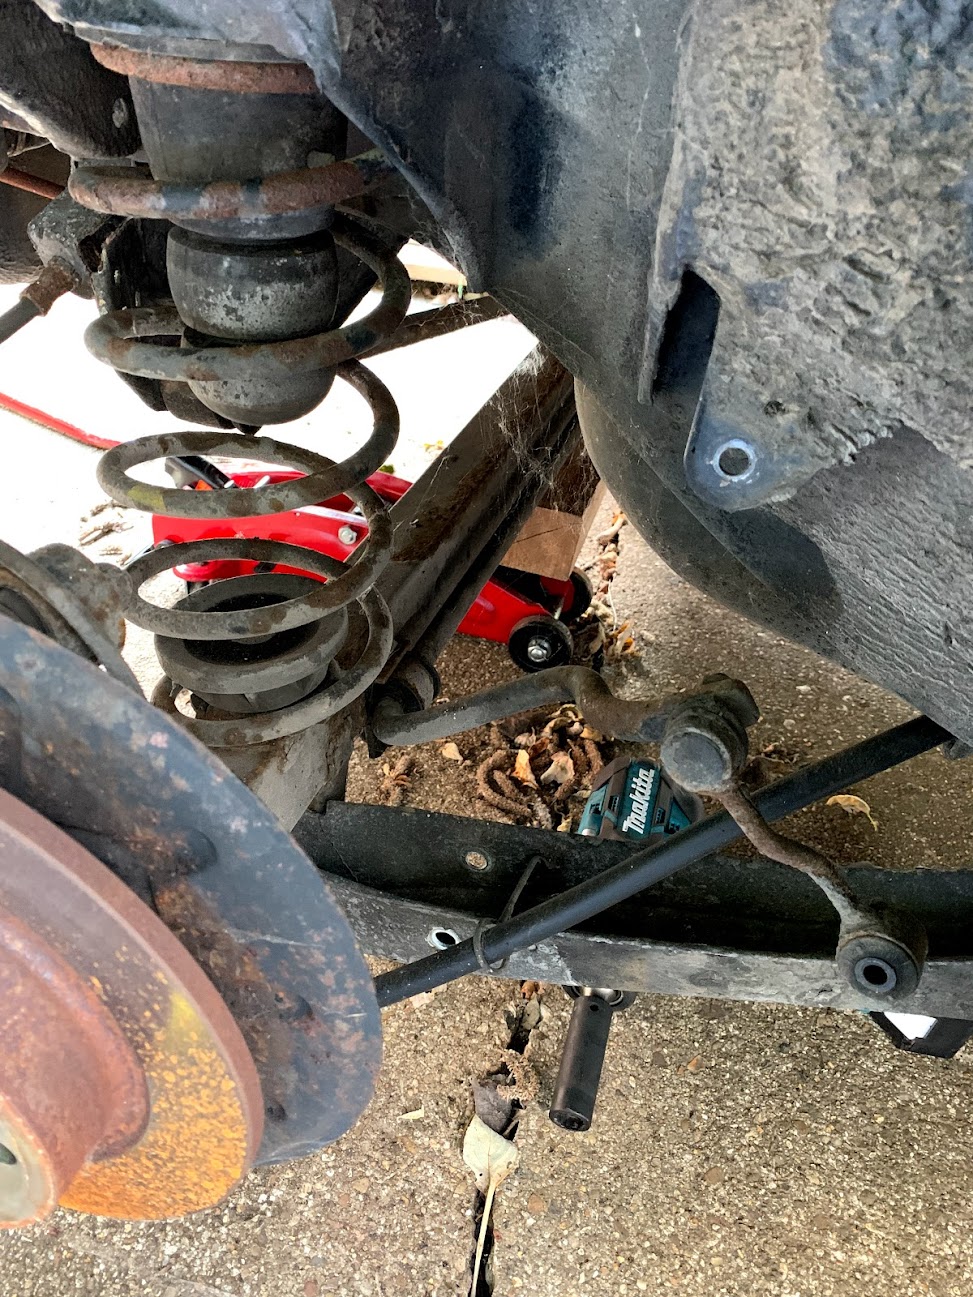
Jack as high as you possible can, get axle stands under, wheels off and let the beam sag down. Keep the jack underneath it.

Old shock off, Drop link off (I actually removed the bar completely, as I was replacing the drop links and access is much easier with it off)
I've got the later type axle (I believe), so two screwdrivers under the lower mount and some gentle wiggling and...


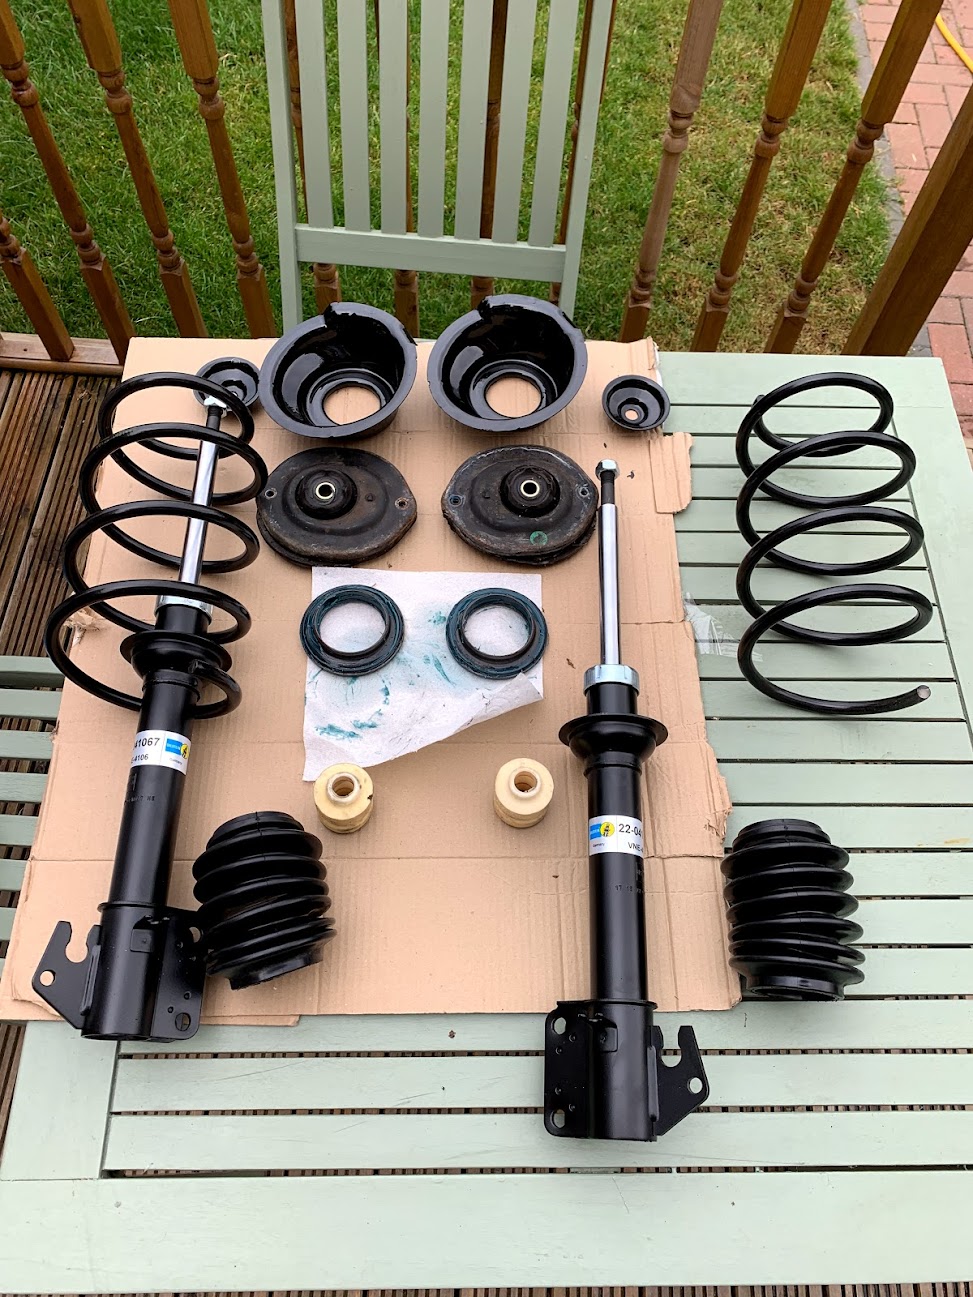
New springs are shorter, so much easier to fit but some notes....
1) The HBOL talks of a special tool to re-seat the mount - I used a a round drift and large washer to press it back home.
2) When refitting the shock, do the top bolt first, BY HAND. You
really don't want to cross thread that one... Twisting the bottom mount 90 degrees to the hole means you've got jiggle space to help locate the thread.
3) Don't tighten anything up when it's in droop. Ideally drop the car down to ride height and torque, or if thats not an option, use a jack under the beam to get it as near as dammit to ride height.
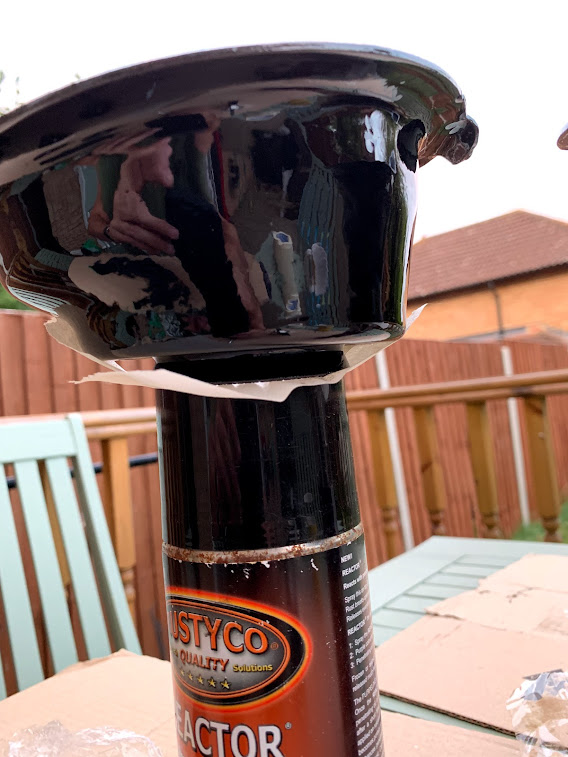
Oh and were the rear shocks in need of replacing? Here they are two hours after being compressed....