I've been really busy of late so I've only been viewing the forum on the odd occasion. Lots seems to have been happening though!
To make this post have some point to it I've included a How-To for replacing the headlining. Tried to stick mine back but it was hopeless so I found a replacement one in the scrapyard. Enjoy!
First, remove the two sun visors:
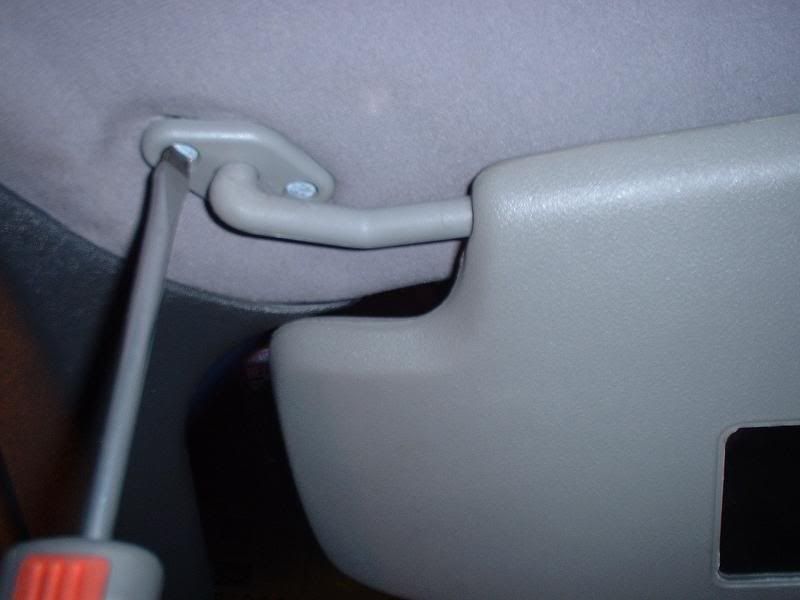
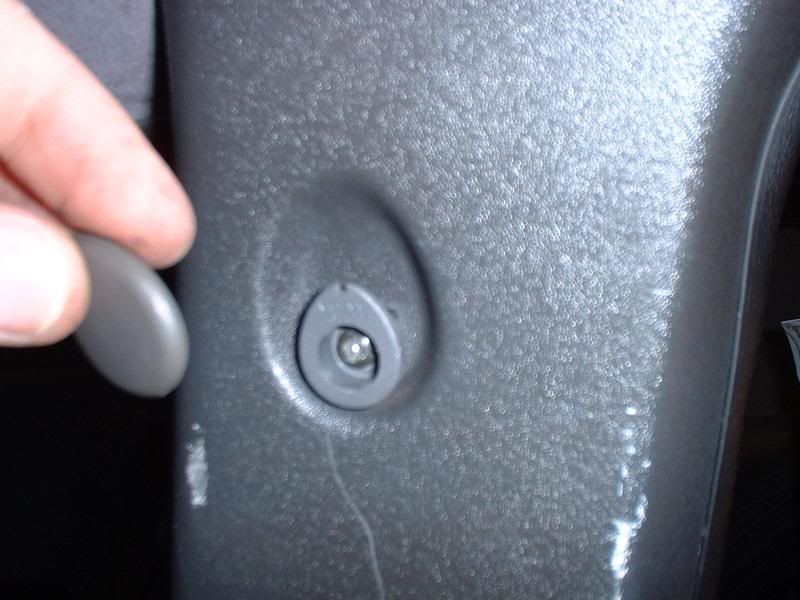
Then remove the screw from each of the sun visor clips and pull out:
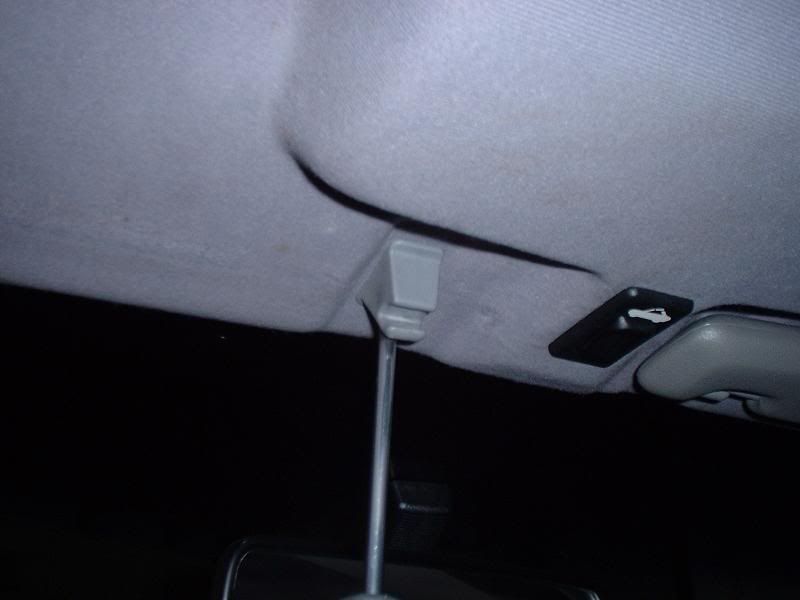
Using a small screwdriver, remove the sunroof switch. (if you have one!)
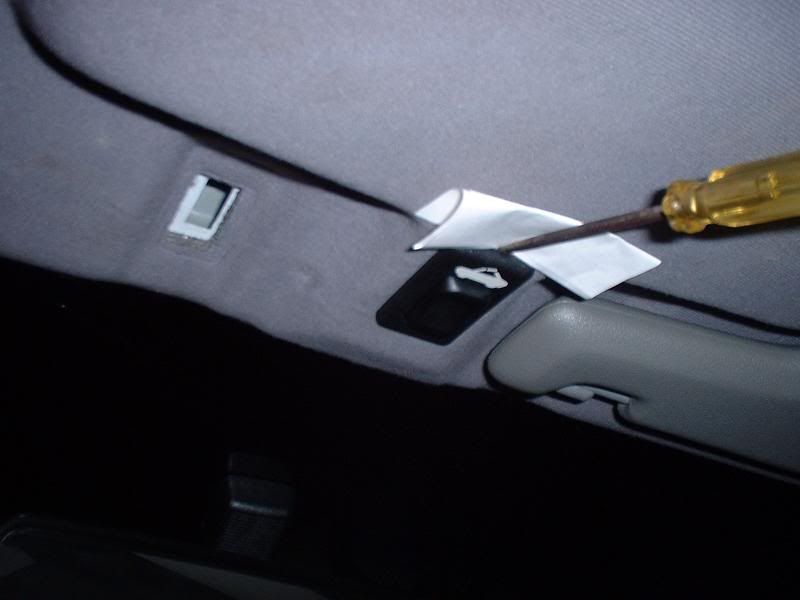
Next, pull off the sunroof trim (again if you have a sunroof!)
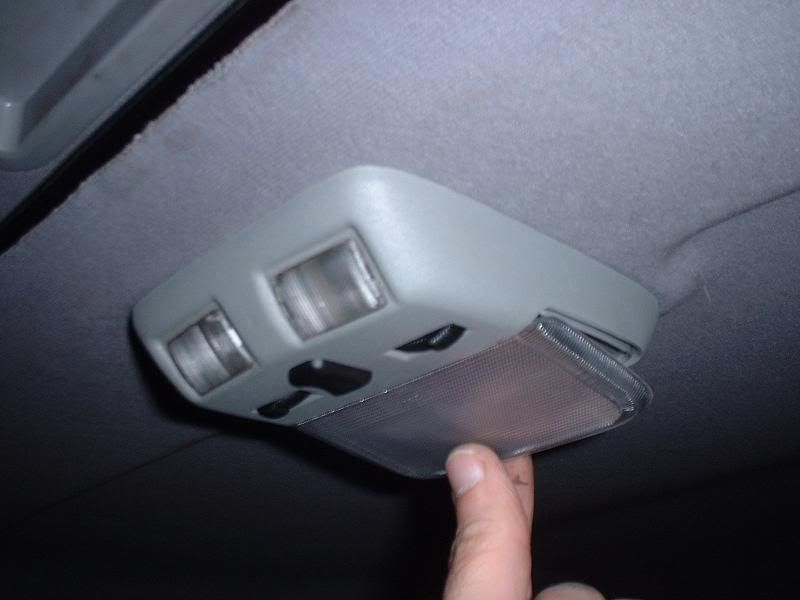
Unclip the interior light clear plastic casing
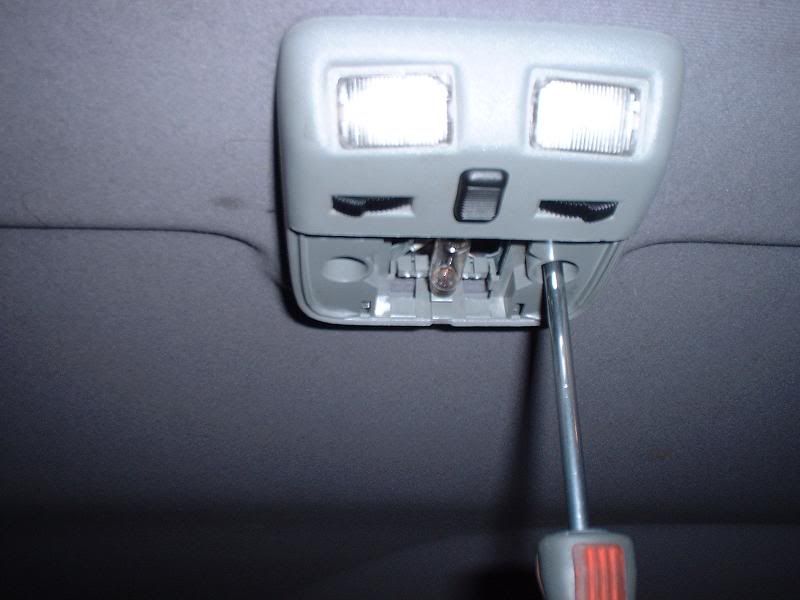
Unscrew the light unit and remove the wiring
Remove the plastic cover and unscrew the B piller trim cover screws. Move it away from the headlining but take care not to damage the seat belt arms
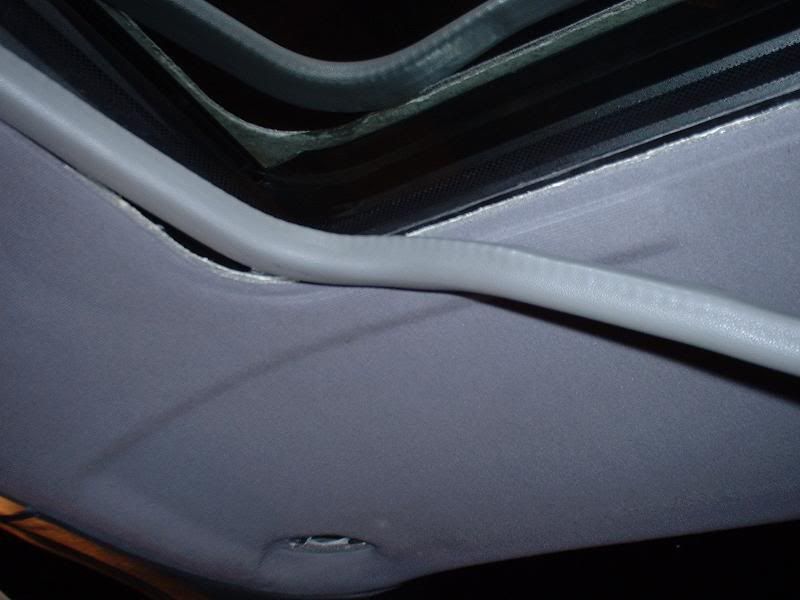
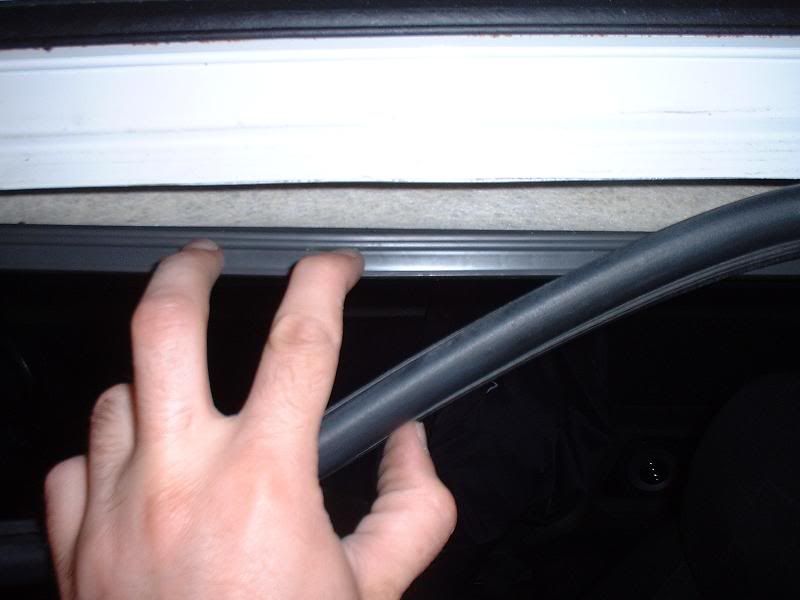
Now pull away the door rubber and pull down the headlining plastic edge trims. (there are 4 of these)
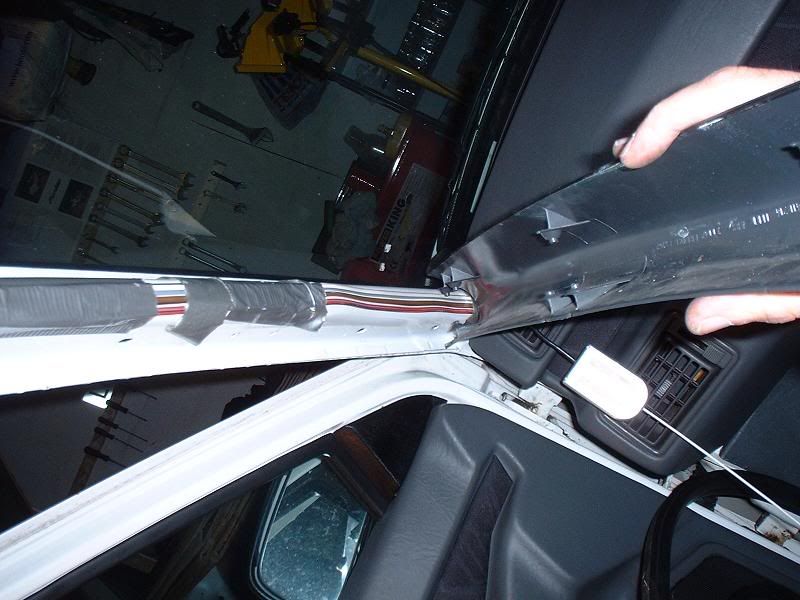
Unclip the A piller trims and remove
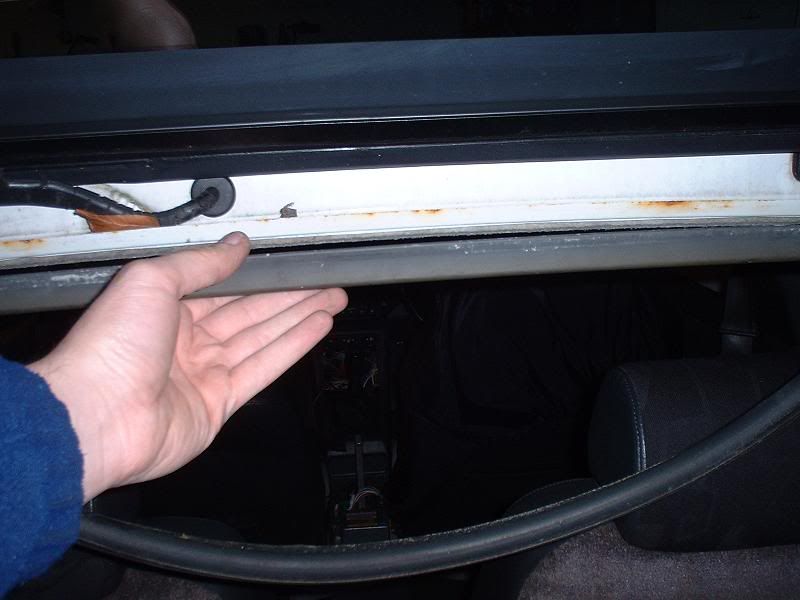
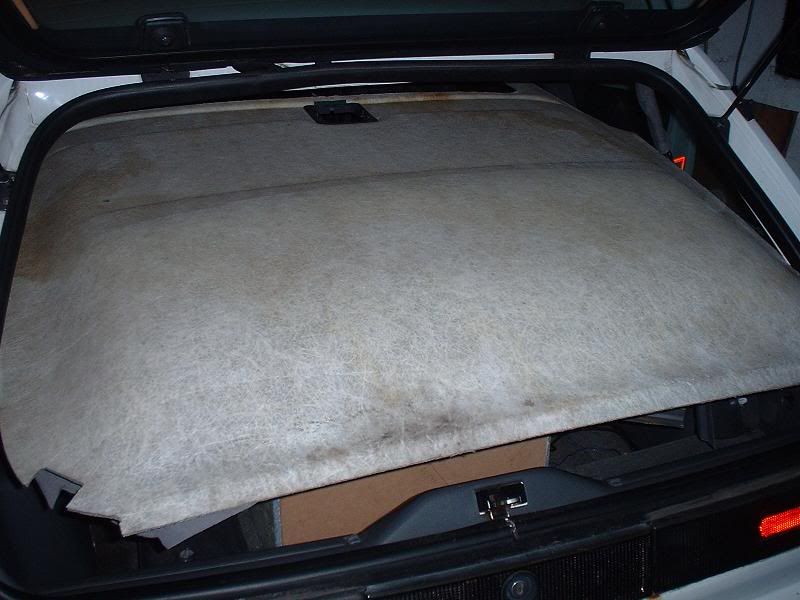
Remove the boot trim rubber and then remove the headlining rear edge trim
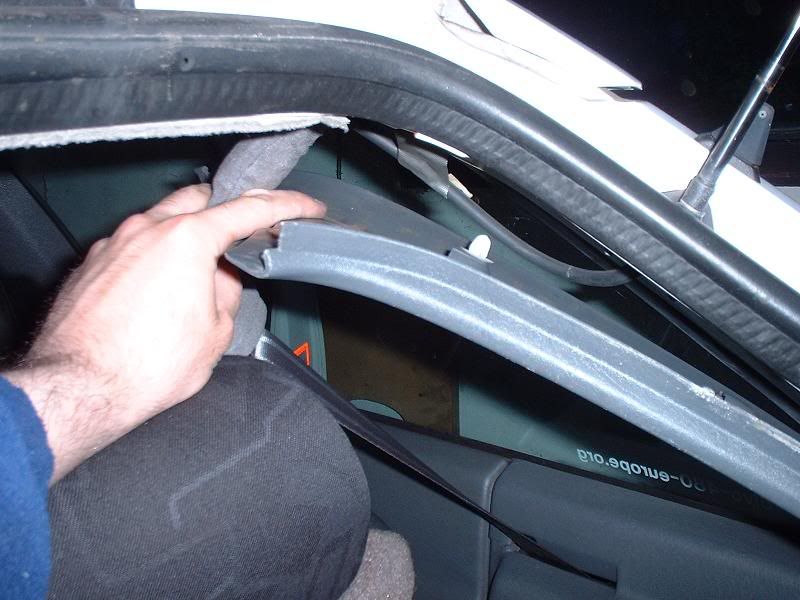
Now unclip the C piller trims and remove
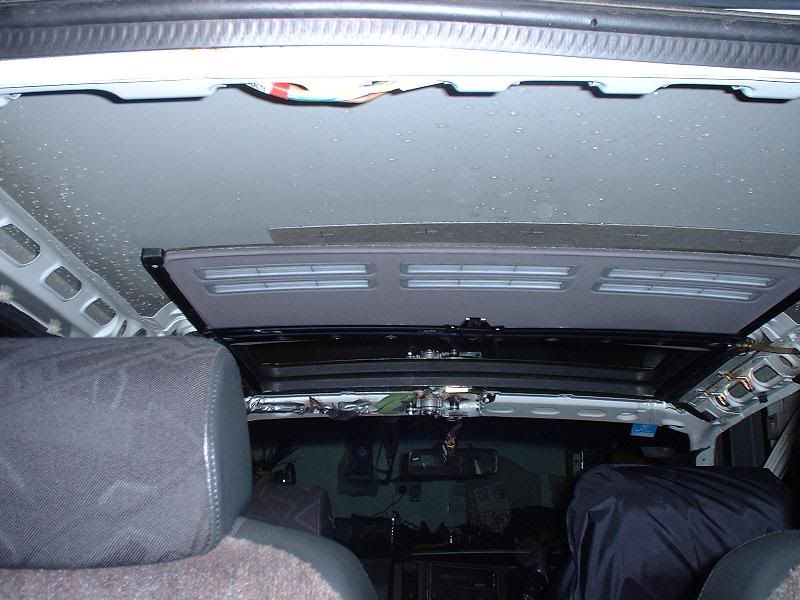
The headlining should now be free to remove through the boot of the car
Ta-Da!
Refitting is the reversal of removal...
Disclaimer. If you bugger it up following these pics i'm not responsible!