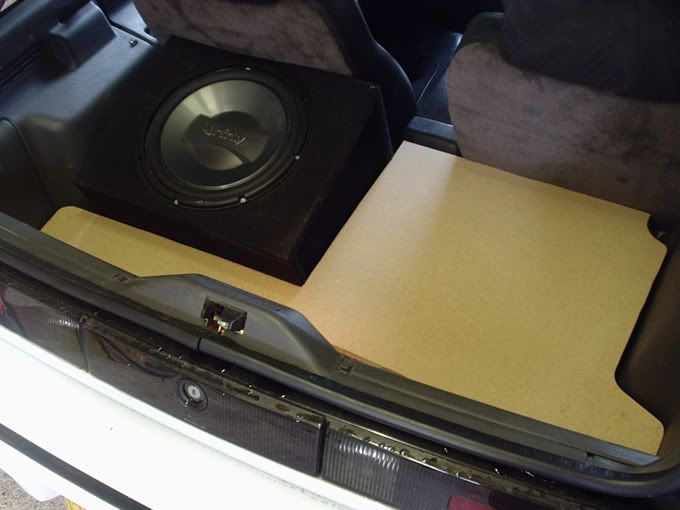
After seeing Kev's install and how tidy and proper it looked, it made me think about how i'd bodged and rushed my current one in one day/evening-so i set about building a new one. Nothing fancy or 'owt, just a tidier version with more care and time taken!
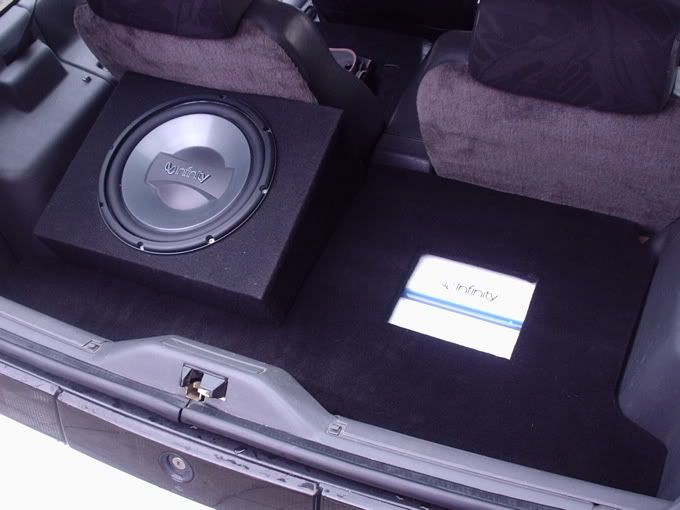
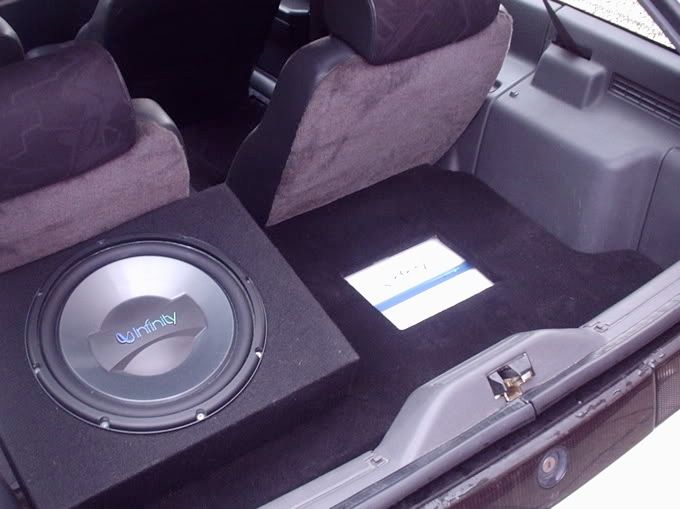
So, i colour coded my amp to match the exterior, and built a proper raised floor this time. As you can see, there's cut-out for the amp to show through. This cut-out will have some perspex in it when my mate actually gets around to 'borrowing' it from his college room lol.
You can get the lid off fairly quick should you need to, just tilting the seats forward and lifting the lid up. The jack kit is at the bottom of the sub box now so it's easy to get to should i need it. There may be a Power Cap going in in the future to eliminate the current draw on longer bass notes, but it's fine for now.
And here is the build in a quite simple step by step (and thats really all it was too!):


Thanks to the guys who helped get me' amp fixed, and thanks to Kev for building an install and inspiring me to re-do mine 'cos it made me realise what a bodge i'd made before!
Now, apart form the addition of a Power Cap maybe, i'm determined to leave the boot alone!